As you know, Nick and I like to acquire most of our furniture inexpensively. It's even more exciting when we happen upon something free! Which has been the case with a lot of our furniture; the TV table, the kitchen table, the bed frame, the dressers, several occasional tables, our office chair, etc. Granted, a lot of that list includes hand-me-down furniture from our parents or relatives. However, every once in a while we stumble on something totally free and do a little happy dance while we carefully maneuver our new-to-us furniture into our apartment. I'm not going to lie, some of the free stuff that comes our way is downright ugly, but Nick and I usually have a vision for taking out the ugly.
One such piece of free furniture is my dresser. We found this guy in our laundry room. (In addition to having a room of requirement, our building also boasts a laundry room where people leave their unwanted furniture, magazines, books, and other home items- we also got a working TV from the laundry room.) He was definitely in need of some love.

So one weekend last May, while we were housesitting for my parents, we began the 48-Hour Dresser Challenge. We decided that Day One would be striping paint and Day Two would be used for staining.

While Nick was at work, I started by sanding off the paint with a small hand sander of my father's. No one would let me use the belt sander. It took me about 10 years and just a much sandpaper to get this far...

Cue Day Two. This time we brought out the big guns (aka my father-in-law's belt sander). Nick sanded through the paint on the remaining drawers and the entire dresser frame in a couple of hours. My job was to go around with hand sander and get all the corners and edges.


Finally it was time for some staining. For some reason I really love staining furniture, it's so much more fun than painting. Anyway, we chose a dark stain for our free little dresser.
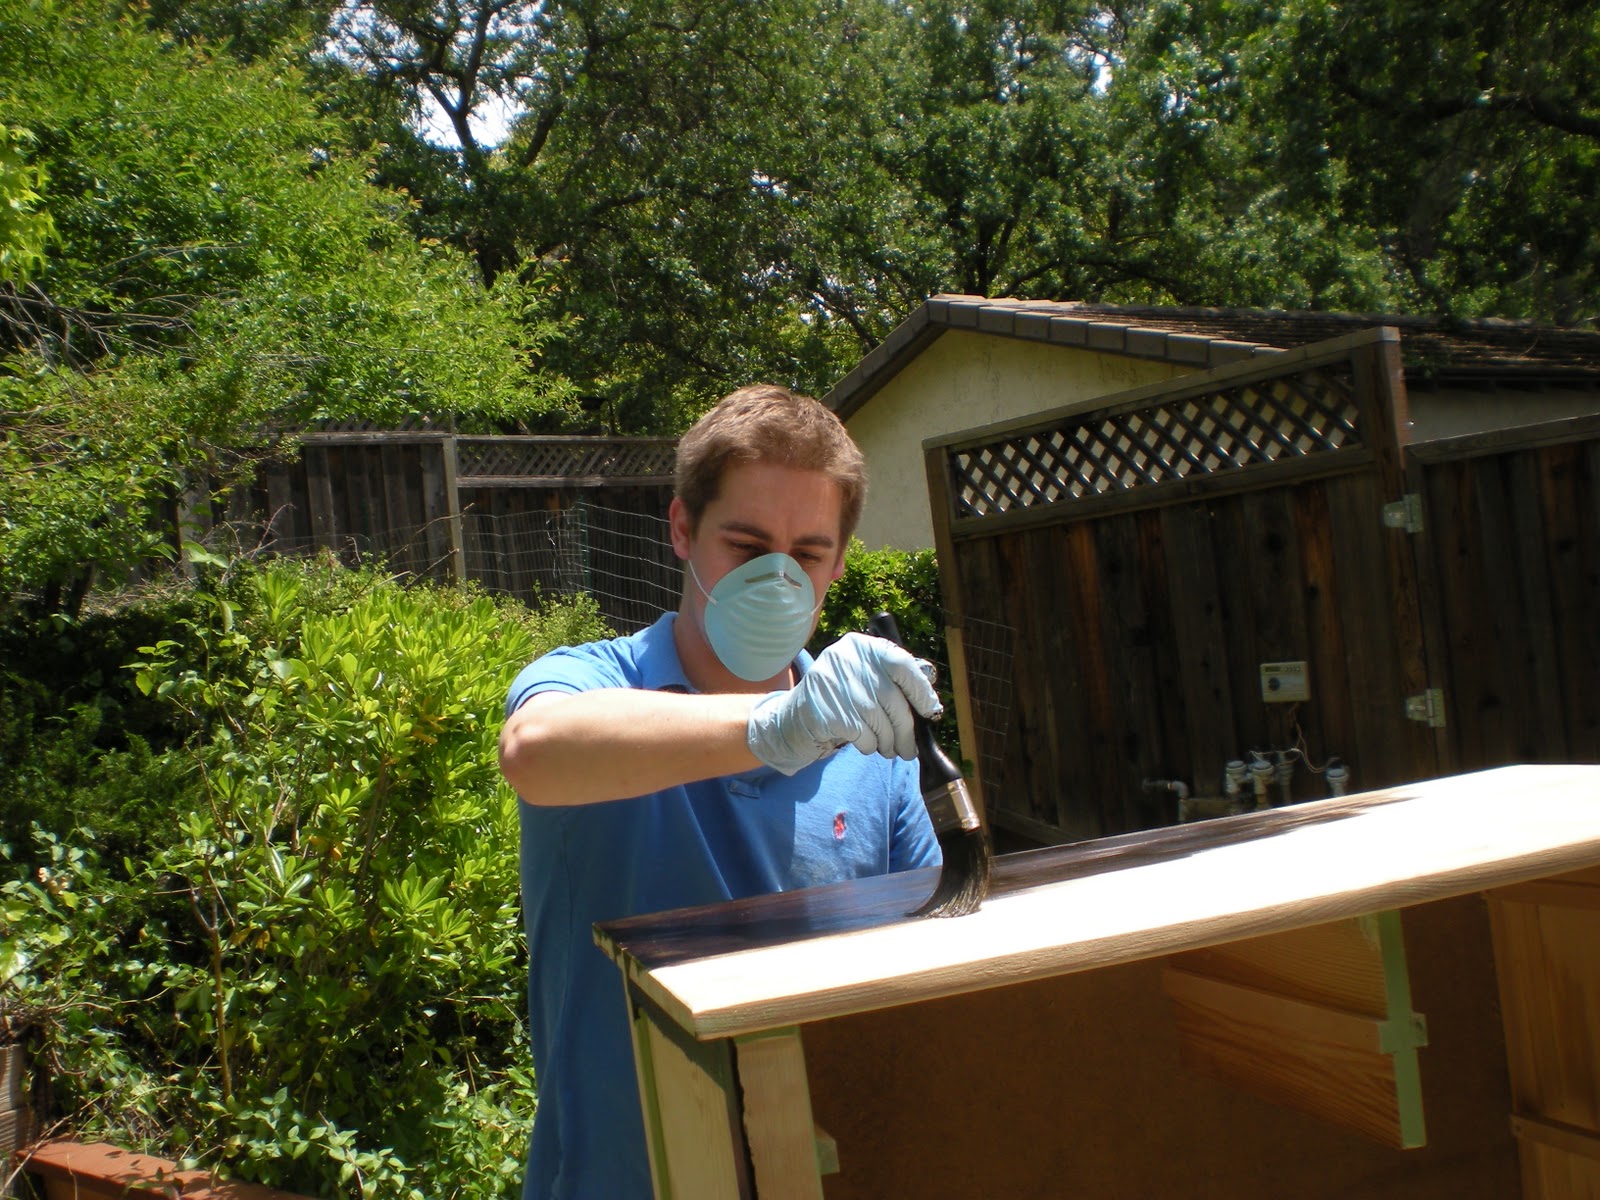
We coated the dresser in two layers stain (one at a time), using light brush strokes in the same direction as the wood grain. We waited about 25 minutes before wiping them off because we wanted a really saturated dark wood look.
After we finished staining, we let everything dry for a couple days. Then we came back to my parent's house midweek, to finish the project. We used a protective sealant top coat to create a glossier finished product.


So with a little work and patience, something free can be transformed into a piece of furniture you really love.


aw man, i'm jealous of your opportunity to find random free things! that's great-it looks good and you can't beat free!
ReplyDeleteThanks! We have been pretty fortunate with stumbling upon a lot of great free furniture! Here's hoping our luck continues as we decorate our new place!
ReplyDelete