4.29.2011

flowers & candles

Happy Friday! I, for one, am very glad the weekend is here. My little ones have a big space-themed field trip today. Plus, my sweet husband planned a little date for us tonight that includes greek food + Water for Elephants (which I'm oh-so-excited to see!).  I know I mentioned all the projects we worked on over the break, but everything is about 90 percent finished, so we're finishing up last minute details this weekend. Hopefully next week I'll have more interesting things to show you... For now I leave you with some images my two favorite accessories: flowers and candles. 

I found this sweet little candle at Pier 1 this week and I love the small tin + the subtle flowery fragrance it  has.
I also picked up a beautiful bouquet of spray roses for $5 at Whole Foods this week, thanks again to Mr. Nick. I split up the flowers into three separate found bottles/jars so that we could enjoy them in multiple rooms of the apartment. 
Finally, in an itch to switch things up for Spring, I decided to group all our white and off-white candles together on our blue dresser. I love the simplicity of this arrangement (and the fact that it cost me nada!). 
Sweet and simple. What are your go to items when it comes to decorating?

4.28.2011

Mozzarella and Prosciutto Frittata

Every Easter my family celebrates with a brunch full of delicious and unique samplings. Thanks in part to three Easter birthdays, and my family's love of anything sweet; the fare this year was fairly (haha) dessert-laden. So, to add a dish to the "savory" side of the table, I baked mini frittatas, using simple organic ingredients. I looked at several recipes for frittata and in the end, combined a couple and came up with my own.

Ingredients:

10 eggs
1/4 c. milk
4 slices of prosciutto, chopped
1/4 c. basil, chopped
2 medium tomatos, chopped
1/4 c. parmesan cheese, shredded
1/2 c. mozzarella, cubed
2 shallots, thinly sliced
Sea salt and fresh ground pepper
Directions:
Preheat oven to 350.
Spray mini cupcake pans with nonstick cooking spray.
Saute shallots in 1 tbsp. olive oils.
In a large bowl, beat eggs, milk, basil, and parmesan cheese. Season with salt and pepper.
Add shallots to the egg mixture.
Pour egg mixture into cupcake pan, filling each cup halfway.
Add 1 tomato slice, prosciutto, and 1 cube of mozzarella into each cup.
Cook for 8 - 10 minutes, until eggs are set and begin to pull away from the side of the cups.


4.27.2011

new knobs

With all the rope Nick and I have been adding to our home lately (see here and here), you would think we were perhaps getting ready for a nautically-themed three hour tour...but no, we are just in a ropey phase and like the rustic look of it in all kinds of settings.
You remember our most beautifully rustic antique dresser that we found last week? Well, it was lacking knobs of any sort which made it tricky to open any of the drawers.
We had some extra rope lying around so we decided to remedy the problem with some DIY rope drawer pulls. 

I can't take any credit for this project, other than the idea behind it. Nick executed the entire rope-knob-construction without my help.
Here's what he did:
1. Widened all the holes for the knobs and pulls. Since the existing hole were a smidgen on the small side, given our chunky rope, Nick used his drill to quickly create a bigger hole through which to feed the rope. 

2. Measured out exact length of the rope, so that each knob/pull was the same size. 
3. Tie the rope into a secure knot (twice!). Nick tied one large knot for the knobs, and tied two knots spaced about four inches apart for the drawer pulls. 
4. Fed one end of the rope through the hole. When making a drawer pull, Nick fed both ends through the drawer and knotted them together in a loop. 
5. Pulled tight and tied a knot inside the drawer.
6. Cut off excess rope.
7. Burned the loose ends of each knot (to prevent fraying).
This project was fairly easy and 100% free, since we already owned the rope. I love the way the bottom four pulls turned out and the faint outline the previous pulls left behind.  However, I am not 100 percent sold on the top two drawers with the knotted knobs. Honestly, they kind of remind me of eyeballs with those dark circles around them! For now they stay, but who knows?! We may decide to spend a little money and buy actual knobs for those drawers somewhere down the line... 
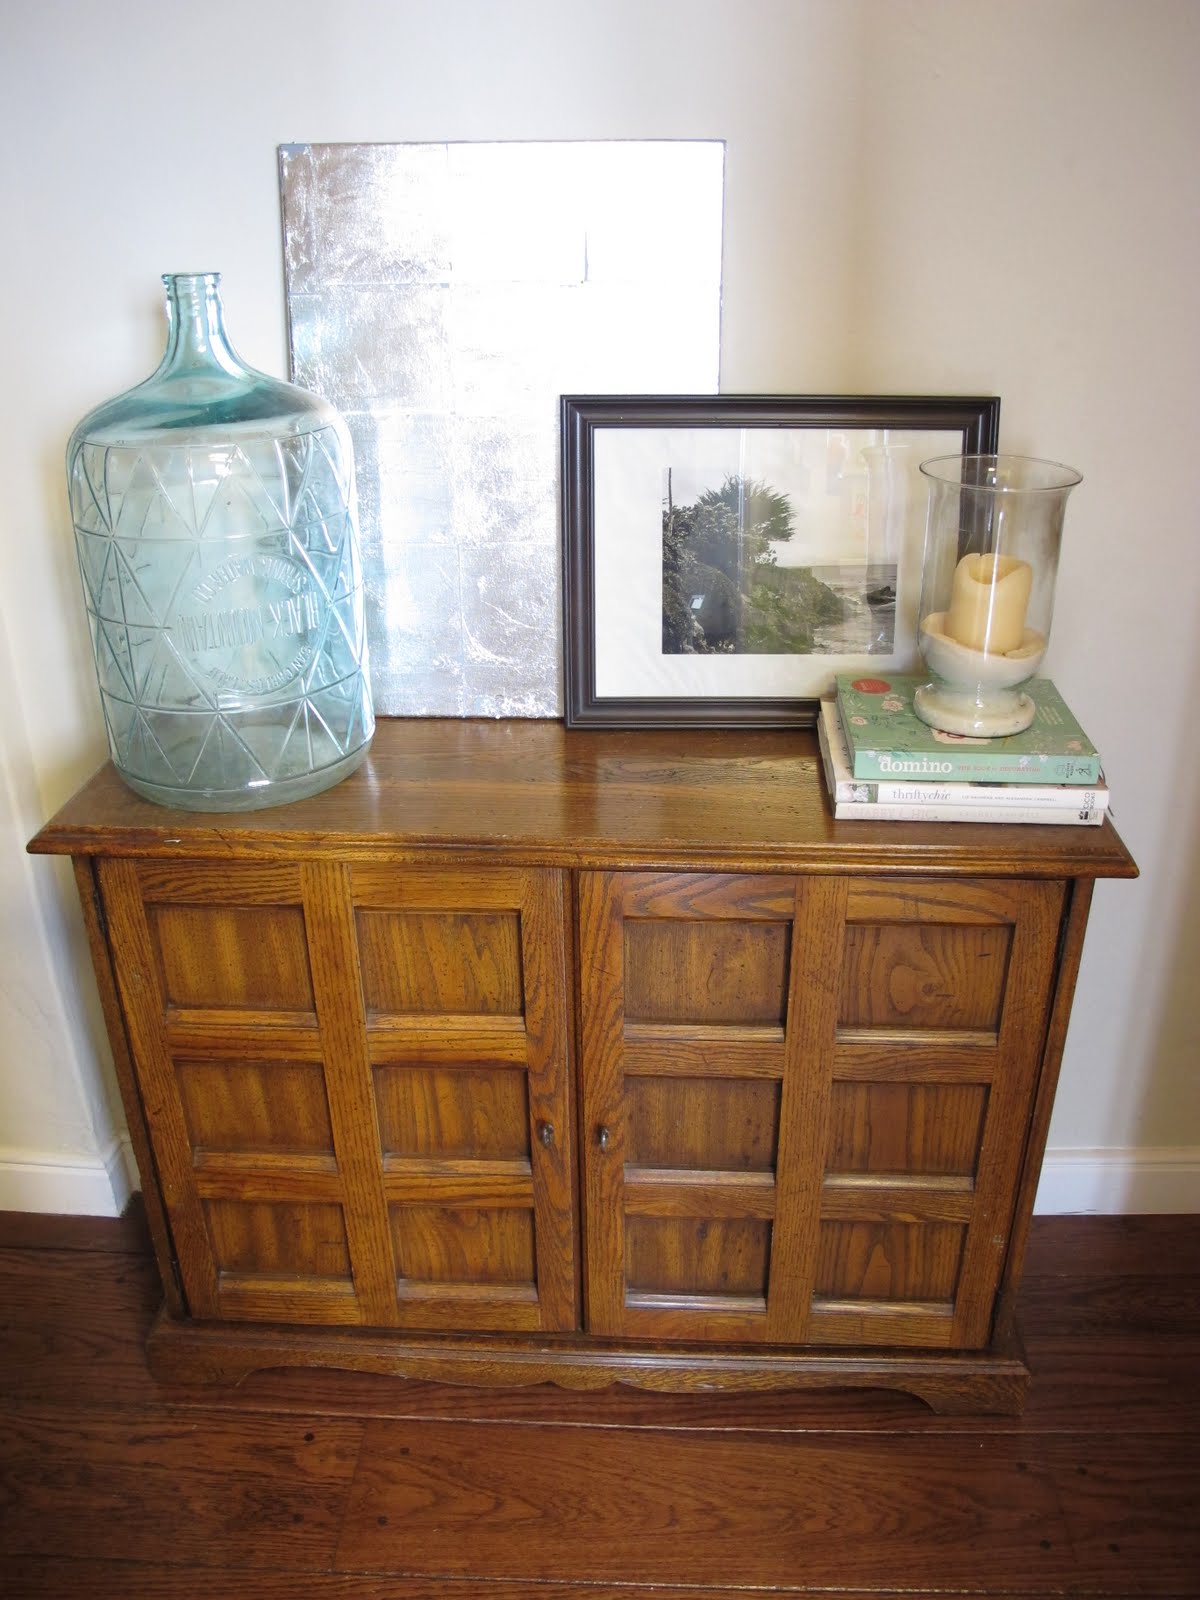
I'll leave you with two more pictures of my most favorite piece of furniture at the moment:

*love*


The Lettered Cottage

4.25.2011

busy spring break

Today I head back to work for the final month and a half of the school year. I spent a productive week around our home working on projects and spring cleaning. Here's a little sneak peek at all the changes in our home:
This guy finally got his makeover:

I did made something unexpected with one of these:

We Nick stayed busy tying rope knots:

This guy also got a paint job:

I spent a fair amount of time in here:

Two of these drop clothes found a home in our apartment:

I received some of these from a sweet neighbor:


And we searched for the missing Easter Eggs that this little guy stole, one-by-one, from our centerpiece:

4.22.2011

shedding some light

...on the dining room table.
First things, first though. Happy 22nd Birthday to my beautiful little sister (and future UCLA graduate student-wohoo)!
Next, I apologize for my lack of writing yesterday... Nick's boss called him and said "Take the day off! Spend time with your wife- take her out to lunch and buy her something pretty!" I happy to say that Nick  followed his boss's orders to a T and we had a wonderful random Thursday off together!
Nick and I purchased a light for over our dining room table. We had been talking about DIY-ing one or buying one for awhile because we wanted to (a) define the dining area of this large room a bit more and (b) light up the room at night, since it devoid of any overhead lights.

Since we live in a rental and it's extremely old, we knew that we would not be adding anything electrical, more along the lines of a giant lantern or chandelier full of candles.
At Z Gallerie yesterday we found the perfect solution for our light-less table, the Huntington Chandelier:

Thanks to a gift card from my brother-in-law, the light cost us $0!
We stopped at Ace on the way home to get a small screw hook for the ceiling and started to hang it up as we got home (which involved a lot of standing on the dining room table...)

When we hung it up, we were a little disappointed with the height, as we were hoping it would hang a bit lower. So naturally we remedied the situation with a quick fix. First of all, I made Nick take a bunch of pictures of me holding the light at different heights to determine which one looked best.
Once we figured out the perfect height, Nick used pliers to pull apart the chain and remove it from the fixture.
We decided to use rope to hang this fixture (surprise, suprise). So, Nick knotted, twisted, and tied the rope to the desired height. 
Then we hung the light back up (excuse the mess and half finished curtains):
We love how it defines the space and adds a bit more rustic charm to the room... and all for the cost of a screw hook and a candle ($3!)


4.20.2011

Loca for Roca

Today I made some Almond Roca for a pre-Easter sweet. Perhaps we'll package it up and give it to family on Easter... perhaps we'll eat it all ourselves.... only time will tell!
I followed this easy recipe for the Almond Roca, which requires very few ingredients and time.
The only modification I suggest is to cut down on the amount of chocolate and the amount of almonds, (to 4 oz of chocolate and 3/4 c. almonds) because I had way too much of each left over in the end.  
This is such an easy and elegant dessert to make; I know I will keep this recipe handy in the future. 

4.19.2011

In L-O-V-E

....with my husband of course.... BUT ALSO with this amazingly amazing dresser we scored at Urban Ore last weekend! 
Nick readily obliged to my request for some face time with Anthropologie and Urban Ore, after a "blah" Saturday morning. We spent a good 45 minutes wandering around Anthropologie, while I mentally redecorated my home with my millions of dollars (haha). We left mostly empty-handed and set off for our favorite thrifty store
When we got to Urban Ore, we went our separate ways (Nick made a beeline for the old electronics section and I headed to the furniture section - naturally).  Then I saw it; the most perfect Anthropologie-est dresser I had ever seen!

My thought process: "Self, we don't need another dresser" "But I loooove it." "Self, we have no room in our apartment..." "But I love it!" 
I yanked Nick away from the dusty piles of old record players and cassettes with the words, "I found something I really, really love but we don't have room for it." (Insert sad face.) 
As luck would have it, Nick really liked it also and we figured out a place for it to fit in our home (in our "dining area" by the balcony). We decided to sell the console table that I painted last year to make room (and $$) for this piece that is a little more "us." Before I knew it, we were paying for the dresser and leaving with promises to pick it up the next day with my larger car. 
When we got it home, we took it straight to the balcony so that I could sand it. The finish was a little rough and there were some splintery parts. However, it was nothing that 30 minutes of power sanding couldn't cure. I also cleaned all the surfaces with Murphy's Oil. 

As you can see, it doesn't have any handles- although you can definitely tell where they used to be! This is a situation we're planning to remedy (hopefully) very soon with some DIY drawer pulls.
We are also toying with the idea of spray painting numbers on the drawers, similar to this real-life Anthropologie dresser (only $998, friends!).  
Of course we're going to live with our new dresser for a few weeks before we make any big changes.
What do you think? We know that rustic beat-up looking dressers aren't everyone's style, but we are super excited about it! 

Related Posts Plugin for WordPress, Blogger...
 
site design by designer blogs