LOVE that little laugh!

10.29.2012
kitchen update
Last week was a week; as in, "what a week!". Hayden was sick with a cold and not able to sleep or eat much for the first four days. Nick's job got even more crazy and he was often working in our home office until 1 am. Despite sleep deprivation by all, we persevered with our kitchen project, though we didn't get quite as much done this week as planned.

Here's where things stand this morning: The cabinet frames have been primed and painted with three coats of paint. We think that we may be done with the painting inside.


On Saturday, Nick spent 3+ hours sanding all the doors and drawers and I spent some time priming everything in the garage. All the door backs have primer and one coat of paint. All the drawers have been primed and painted once.

We are using Benjamin Moore's Advanced Paint, which seems to be the go-to paint for painting cabinets and doors. It's a latex paint that acts like an oil and hardens over time- making it extra durable for much used kitchen cabinets. The paint can says to wait 16 hours between coats of paint, so we're only able to one coat of a paint a day, making this a very long process.

Here's what we have left to do:
- Paint the drawers with two more coats of paint.
- Paint the back of the back of the cabinet doors once more.
- Prime and paint the front of the cabinet doors (3 coats)
- Spray paint all the hinges
- Add the drawer pulls and knobs
- Rehang all the cabinet
If all goes well, we hope to be finished with all painting and cabinet hanging by next weekend... We shall see!
10.26.2012
in which we make tiny ghosts
The kindergarten teacher in me couldn't resist doing a Halloween-themed art project with Hayden to celebrate his first major holiday. I decided that we would paint ghosts to send to our friends and family in the form of Halloween cards. I've done a variation of this project before with my students so I simply adapted it to make it more baby-friendly.
The first thing I did was purchase all my supplies: two pieces of black card stock, three pieces of orange card stock, and a packet of googly eyes.
Then I found a recipe for nontoxic paint. I decided that since Hayden's baby skin would actually be touching paint this time, I wanted to keep him away from any chemicals that could be in regular finger paint. This recipe was easy to follow and made a nice chunky paint. (As a side note, I have plenty left over so I can add food coloring to it to make other colors for future projects!)
Next, I prepped an area outside for our little art project since I knew it would get a little messy! You can see our process in this short video below:
I let the ghosts dry for a couple hours before bringing them inside to cut out.


After cutting out all the little feet, I used glue to attach eyes to each one.

Then I cut my orange card stock into 6 inch squares and printed up a little Halloween greeting.


I glued everything down to the card and added a current fall picture of the artist himself to the back of each card.


Easy, fun, and cheap- the perfect holiday craft!
10.24.2012
pumpkin whoopie pies

This October, it seems that Ican'twon't seem to bake anything that doesn't involve pumpkin in some degree. I've made pumpkin muffins, cookies, flavored yogurt, and now pumpkin whoopie pies. (I did manage to eek out an apple pie, but that was really just a small break from all things pumpkin.)
For our family's annual chili cook off, I was in the mood to make dessert rather than a big batch of chili. So with Hayden snoozing in the baby sling on Sunday morning, I attempted this recipe to make these adorable little whoopie pies.


10.23.2012
a cold


The abrupt change in temperature (from 90s last week to rainy 60s this week) coincided with Hayden's first ever cold. Poor sweet baby was up every hour last night with a little cough, a stuffy nose, and a wheezy snore. This week we're letting go of our plans; of story hour, yoga, play dates, and walks and focusing on being well. So bring on the humidifier, aspirator, the cozy pajamas, and cuddles in bed... We've got this.
10.22.2012
and so it begins...


Since moving into our house, we knew that one things we really wanted to change was our kitchen. It's dated, dark, and closed off... The old wood cabinets are missing most of their shine and look tired and dingy. Same goes for the countertops. Like the rest of the house, the kitchen is painted khaki - not the best color for a windowless room. Because the kitchen is literally in the center of our first floor, we wanted to make the space more open and inviting. We decided (as with most projects!) to do this ourselves and to do it on a budget. Because this isn't our forever home, we want to update the kitchen without completely remodeling it or spending too much $$.
Additionally, we don't have the budget to tackle the entire project in one go, so it will be an ongoing project that we take on, piece by piece. We already started the makeover back when we moved in by purchasing several new stainless appliances. (We still have to replace the oven, but we'll get there!)

The next phase in our kitchen remodel includes refinishing the tired old cabinets. This is the project we'll be working on for the next week or two. Thanks to Granny and Pops, we had 4 baby-free hours this weekend in which we were able to get started. The project involved sanding, priming, and painting the cabinets and we wanted to limit Hayden's exposure to the dust and chemicals as much as possible.
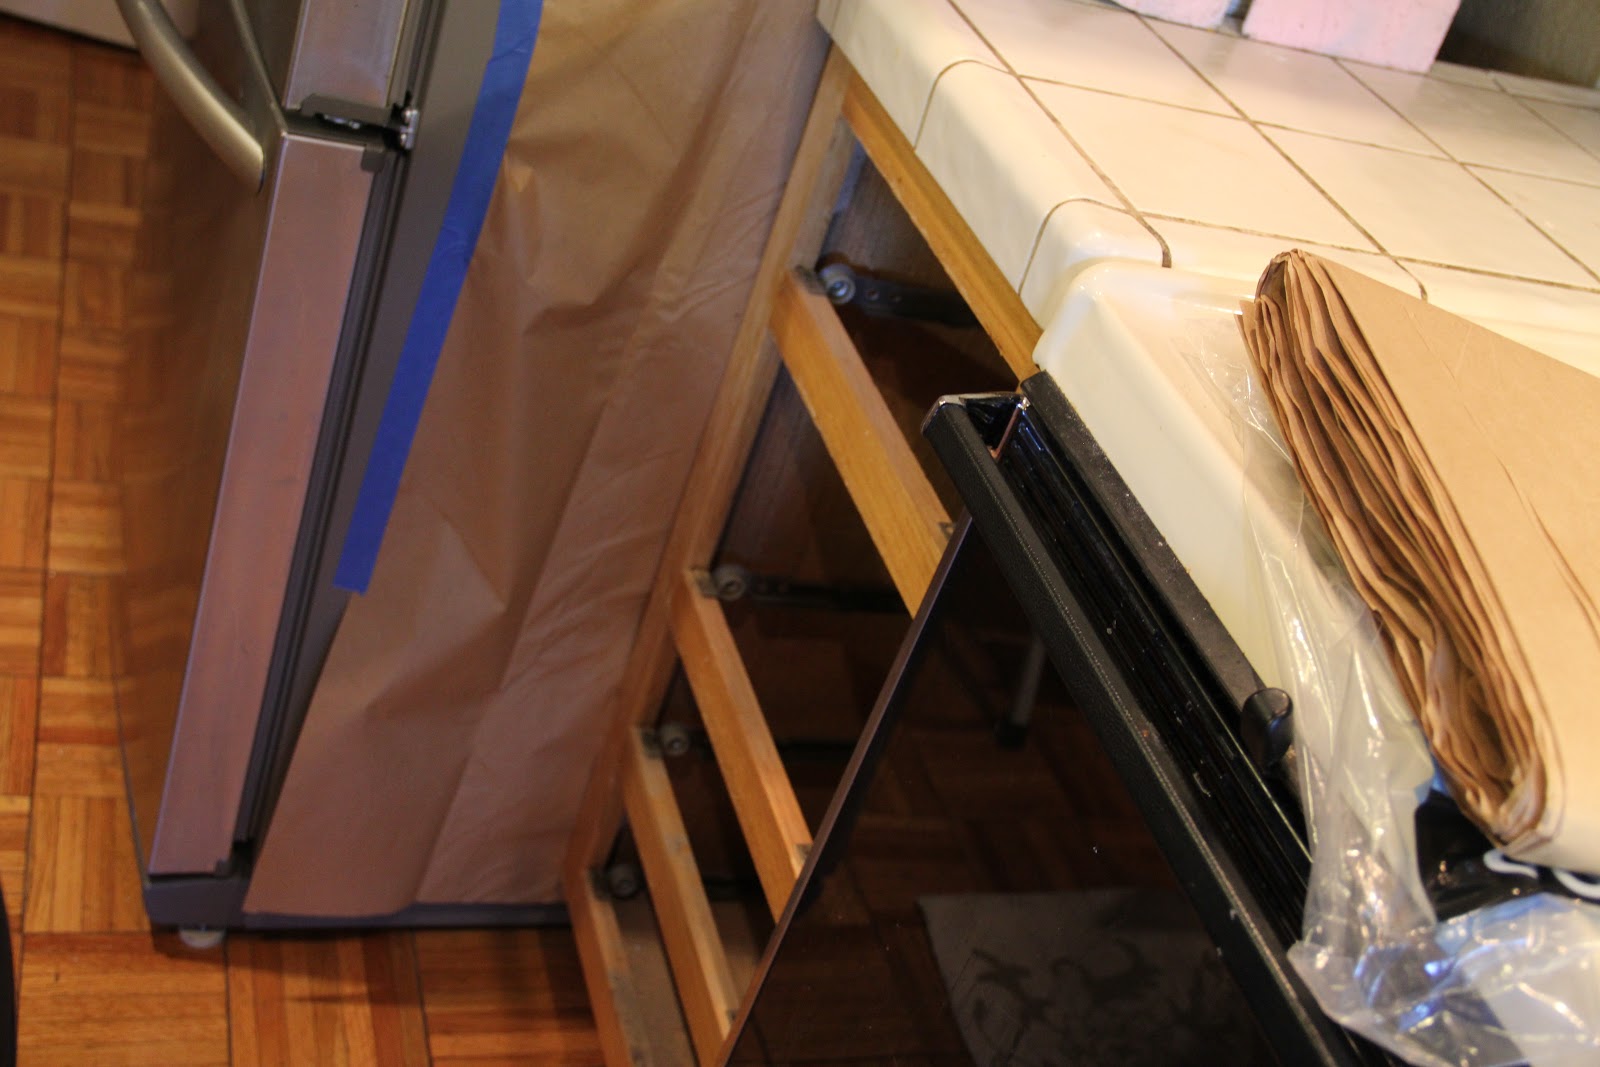
Out first step was to unload all the drawers in the kitchen. I tried my best to find temporary homes for all the items, but unfortunately, most landed on the kitchen table where they'll likely remain during this phase. We decided to leave everything in the cabinets and just cover them with brown paper and painters tape. We did this for two reasons- we want this project to be a least disruptive as possible to our daily lives and we also don't really have the room in our house to store all our dishes, pots and pans, etc. in spaces other than our kitchen.


Nick worked on removing and labeling all the cabinet doors and hardware, while I taped around each opening and covered everything with brown paper. We also sealed off both entrances to the kitchen with brown paper so that we would minimize the dust from sanding. When everything had finally been prepped for work, Nick used his palm sander to sand all the cabinets. The prep work took us about 3 hours to complete, while the actual sanding took only 45 minutes. We know that prep work is key in making this project look as professional as possible, so we are happy not to rush into anything.


Our next step is to prime all the cabinets. As I mentioned, we're trying to minimize little H's exposure to any of the chemical we're using. So, I purchased low-VOC paint and primer. We also decided that we'll be working at night after Hayden goes to bed, so that any work we do will have about 10-12 hours to cure before he is back in the main part of the house.
We definitely have our work cut out for us but I'll be so excited when this project is finished and we're one step closer to a lighter, brighter kitchen!
10.19.2012
sunday mornings


Hayden is going through a phase (perhaps/hopefully a just phase) where he prefers my presence at any and all day time naps. During the week I work to settle him in his swing or somewhere near by, where I can do the chores that need to be done while still maintaining close proximity.But on Sunday mornings, before our day has really even begun, before church, walks, brunch, shopping etc., I am only too happy to oblige with his simple request. So Hayden and I cuddle up on the bed, while Nick does Daddy sorts of things (cutting the lawn, working out, car washes, and the like). Hayden snoozes and I read or sometimes take a little siesta myself. All while listening to our favorite piano station on pandora. And it's peaceful and quiet and wonderful. Oh how I love these Sunday morning naps.
10.16.2012
pumpkin patch


After our pumpkin-festival fail, Nick and I decided to visit a local pumpkin patch with Hayden to pick our pumpkins for Halloween. This sweet little pumpkin patch had tons of pretty, round pumpkins to choose from and some nice hay bales to prop my baby up for some obligatory fall pictures.
10.15.2012
pumpkin festival
For several months, we've been talking excitedly about going to the Half Moon Bay Pumpkin Festival. The festival took place last weekend and we drove down to HMB with our good friends, Tim and Erin. We were anticipating a quaint little festival with plenty of pumpkins and a big pumpkin patch. Almost everyone in our party dressed in their fall plaid for the occasion.


While Half Moon Bay is a gorgeous location, we were a bit disappointed with the festival. It was super crowded and there wasn't a pumpkin in sight! There were, however, plenty of pumpkin flavored treats (pumpkin ale, ice cream, bread, cookies, and pie) to be sampled. (And sample we did!)


The only pumpkins we caught sight of were these giant carved crazies as we were exiting the festival.


Nonetheless, we were happy for the mini road trip with friends and we were able to squeeze in a quick (windy!) stop to take in the beautiful Pacific Ocean (Hayden's first time).


Subscribe to:
Posts (Atom)


