I started by measuring the length at which I wanted my curtains to fall. Because I wanted floor-length curtains and we have a high window, I need 100 inches of fabric for each panel. So, I got 6 yards of fabric (to have a little extra left over) from my favorite fabric store, Piedmont Fabric.
Before cutting the fabric, it's a good idea to wash it, in case it shrinks up at all.
After this, I laid the fabric out on my living room floor and basically just cut the piece in half (so that each panel was approximately 3 yards long).
Then I began to hem the fabric to make the panels. Now, I'm no sewer (although it is something I wish I could do and have vague plans to learn how from my mother), so I use iron-on hem tape for all my limited-sewing needs. This stuff is great because it holds up in the wash and bonds very well to the fabric.
I followed the instructions on the hem-tape package (as in, which setting to set the iron to and don't slide the iron back and forth, etc.).
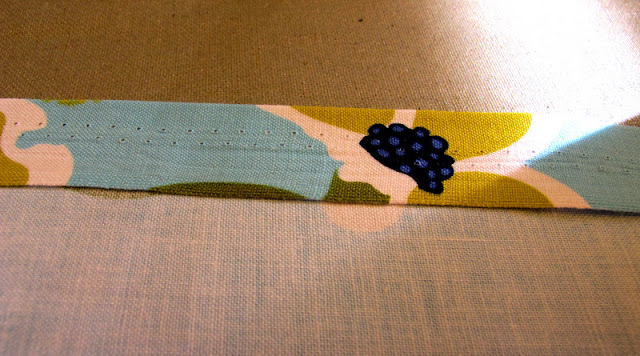
The tape lets you make nice straight edges as shown below:
After I hemmed all four sides of each panel, my curtains were finished! Since I was using some old curtain ring clips, there was no need to do anymore work. However, you could easily make the curtains tab-top by creating a pocket at the top of the panel, for the curtain rod.Then my sweet husband hung up my curtain rod and curtains, as this little shorty could never reach above the window, even standing on our tallest chair.
This process is so easy and curtains are a great way to add some personality and color to a room, without the hassle of painting or the expense of new furniture! So...has anyone else made their own curtains??


No comments:
Post a Comment
Did you enjoy this post? Leave a comment below and let us know what you thought!