Last week I posted about our newest piece of old furniture;
a black chest of drawers from my parents. I also mentioned my (ambitious) goal of finishing this furniture makeover before the weekend. Well, I made good on my promise and this dresser was complete by Thursday evening (but not without some hard work). This was the dresser in all it's former glory:
I decided that I wanted this dresser to have an antique-y Anthropologie-ish feel to it, especially given the fact that this guy was pretty old, and no amount of paint would make him look young again! Anyway, I decided on grey and white for my color scheme. I wanted a very subtle grey that wouldn't stand out too much against the white, but would add just enough contrast to highlight some of the dresser's more interesting features. The colors I chose were Casual White and Winter Haven (both colors available at
Ace Hardware.) Winter Haven was available in a paint pod, which I bought because I knew I wouldn't need a lot.
 |
| I apologize for the scratched up paint samples (these guys were sitting in my week). |
My first step was to prime the entire dresser to help with coverage of the black paint. I rolled on Ace's latex primer in white.
Next, I did two coats of white paint, using a foam roller on most surfaces (except for corners and crevices). After the white dried completely, I used my ever-present roll of
Frog Tape
to tape off the parts of the dresser I wanted to paint grey. Since I don't have the steadiest of hands, I didn't want to freehand it.
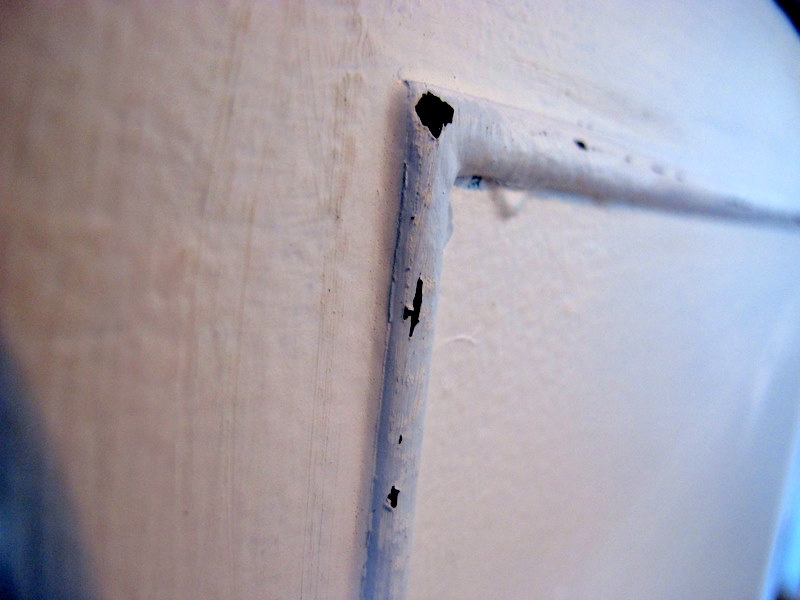
I painted 2 light coats of grey on the frames of the doors, the ridges on each side of the dresser, and the top curve of the dresser. As you can see from the photo below, the grey is super subtle, adding the slightest variation to the white.
I was too excited about my Anthropologie drawer pulls, so I put them on before I finished painting the grey; I chose
hanging pulls for the two doors,
along with coordinating
round knobs for the lower drawers.
The last step of my dresser makeover was to distress the entire piece of furniture. Without distressing it, the drawers look nice, but a little bland. To give the piece a little personality, I used sandpaper and lightly sanded all of the edges and corners.
This allowed some of the black to show through:
The end result?
I love when things turn out exactly how you picture them in your mind! Does that ever happen to you?? It works perfectly with the rest of the room, from
the pallet bed to the new
farmhouse desk:
The hidden drawers are great for office organization too:
Here's one last before and after, to show you how far this little dresser has come (in a week!):


What a fabulous makeover, you did a wonderful job!
ReplyDeleteThanks for linking!
XO
Kristin
What a great piece, love the makeover. I am a new follower! Come check out willowcreeks.blogspot!
ReplyDelete