skip to main |
skip to sidebar
and so it begins...
Since moving into our house, we knew that one things we really wanted to change was our kitchen. It's dated, dark, and closed off... The old wood cabinets are missing most of their shine and look tired and dingy. Same goes for the countertops. Like the rest of the house, the kitchen is painted khaki - not the best color for a windowless room. Because the kitchen is literally in the center of our first floor, we wanted to make the space more open and inviting. We decided (as with most projects!) to do this ourselves and to do it on a budget. Because this isn't our forever home, we want to update the kitchen without completely remodeling it or spending too much $$.
Additionally, we don't have the budget to tackle the entire project in one go, so it will be an ongoing project that we take on, piece by piece. We already started the makeover back when we moved in by purchasing several new stainless appliances. (We still have to replace the oven, but we'll get there!)
The next phase in our kitchen remodel includes refinishing the tired old cabinets. This is the project we'll be working on for the next week or two. Thanks to Granny and Pops, we had 4 baby-free hours this weekend in which we were able to get started. The project involved sanding, priming, and painting the cabinets and we wanted to limit Hayden's exposure to the dust and chemicals as much as possible.
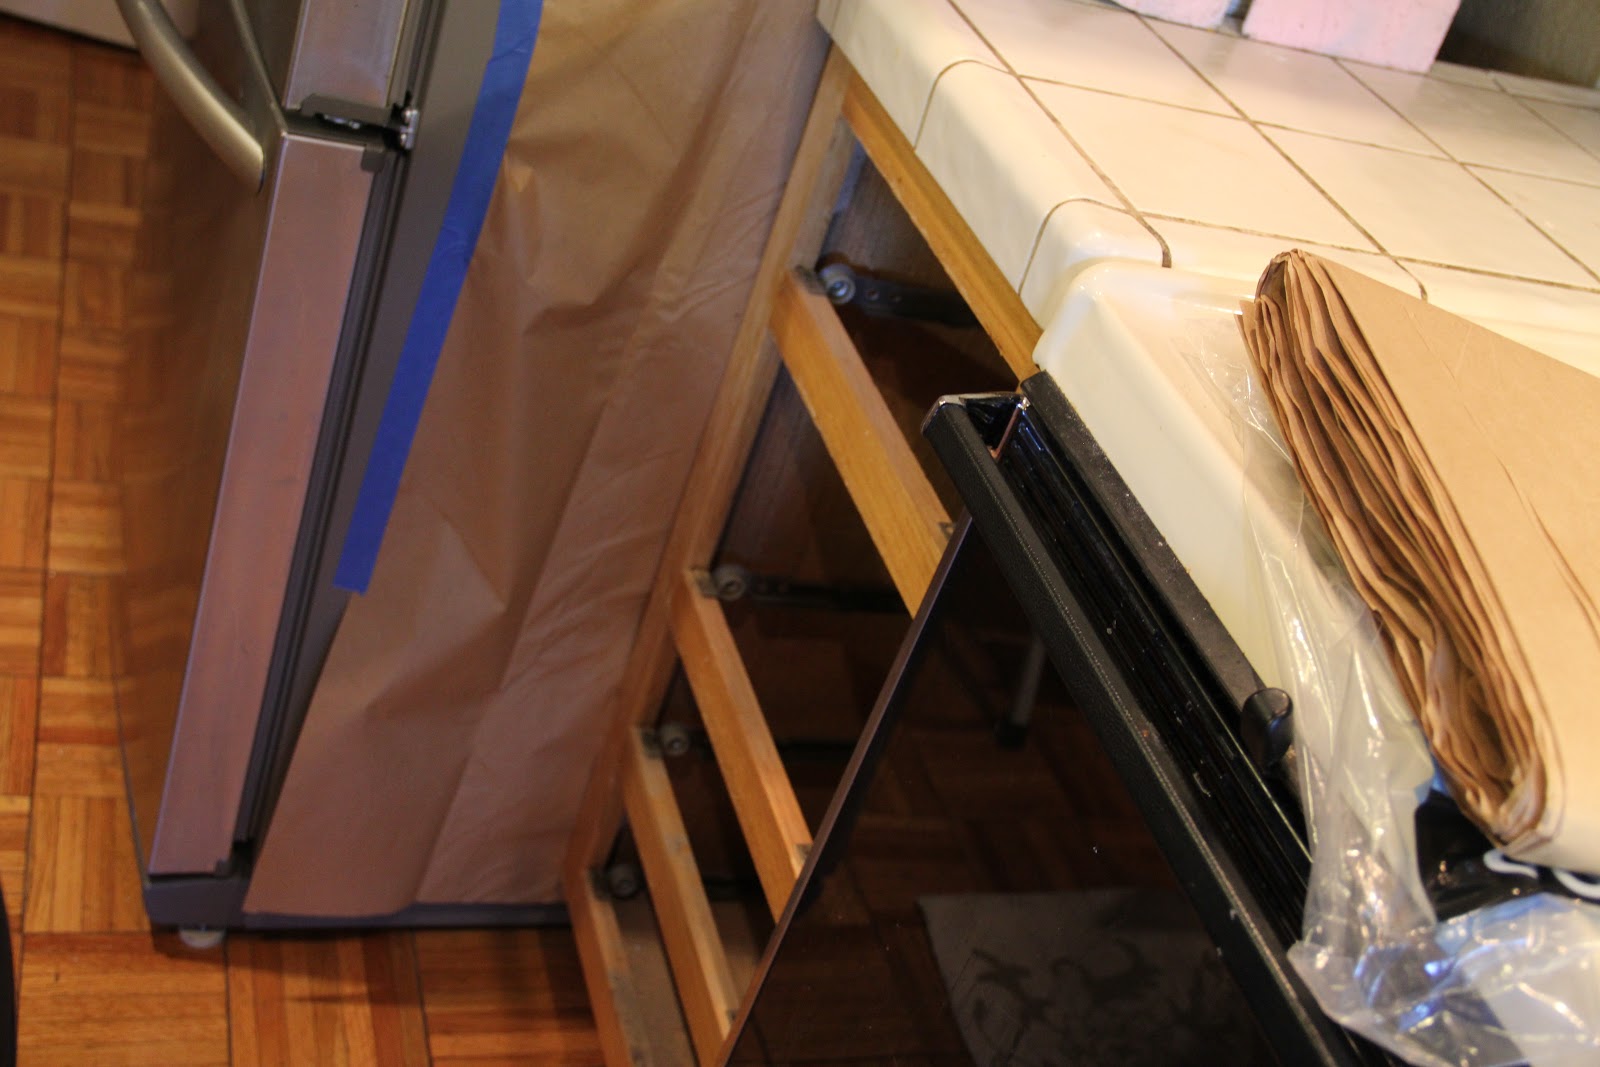
Out first step was to unload all the drawers in the kitchen. I tried my best to find temporary homes for all the items, but unfortunately, most landed on the kitchen table where they'll likely remain during this phase. We decided to leave everything in the cabinets and just cover them with brown paper and painters tape. We did this for two reasons- we want this project to be a least disruptive as possible to our daily lives and we also don't really have the room in our house to store all our dishes, pots and pans, etc. in spaces other than our kitchen.


Nick worked on removing and labeling all the cabinet doors and hardware, while I taped around each opening and covered everything with brown paper. We also sealed off both entrances to the kitchen with brown paper so that we would minimize the dust from sanding. When everything had finally been prepped for work, Nick used his palm sander to sand all the cabinets. The prep work took us about 3 hours to complete, while the actual sanding took only 45 minutes. We know that prep work is key in making this project look as professional as possible, so we are happy not to rush into anything.
Our next step is to prime all the cabinets. As I mentioned, we're trying to minimize little H's exposure to any of the chemical we're using. So, I purchased low-VOC paint and primer. We also decided that we'll be working at night after Hayden goes to bed, so that any work we do will have about 10-12 hours to cure before he is back in the main part of the house.
We definitely have our work cut out for us but I'll be so excited when this project is finished and we're one step closer to a lighter, brighter kitchen!
site design by designer blogs


No comments:
Post a Comment
Did you enjoy this post? Leave a comment below and let us know what you thought!